
Paint blistering and bubbling on walls usually starts as a small raised spot, but it rarely stays that way. When paint lifts or swells, it means it has lost its grip on the surface underneath. In most cases, moisture, poor preparation, or painting under the wrong conditions is to blame.
Paint blistering is not something you can fix by sanding it down and rolling on another coat. If the surface failed once, it will fail again unless you deal with what caused it in the first place. That usually means tracking down moisture, fixing prep issues, or correcting how the paint was applied.
Below is a step-by-step guide to identifying the cause, repairing the affected area, and preventing future paint failure.
What Causes Paint Blistering and Bubbling on Walls?
Before fixing bubbling paint, it helps to understand what caused it. Paint does not lift off a wall without a reason. When blistering appears, it usually means something interfered with proper adhesion during or after the paint was applied.
The most common causes include:
- Moisture trapped behind the paint surface
- Painting over a wall that was not completely dry
- High indoor humidity, especially in bathrooms or kitchens
- Poor surface cleaning before painting
- Skipping primer when it was needed
- Applying paint in extreme heat or cold
- Using incompatible paint types
Moisture is the most common cause of paint blistering indoors. Even a small plumbing leak behind a wall or ongoing condensation can weaken the bond between paint and drywall. Bathrooms, kitchens, laundry rooms, and basements are especially prone to this because humidity levels fluctuate more often in these spaces.
Surface preparation also plays a major role. Dirt, grease, or dust left on the wall prevents proper adhesion. Over time, that weak bond starts to separate, which leads to bubbling.
Identifying the root cause is essential. Repairing the paint without correcting the underlying issue often results in the same problem returning within months.
How to Identify the Severity of the Problem
Not all paint blistering requires the same repair approach. The size, texture, and location of the bubbles help determine whether you are dealing with a minor surface issue or something deeper.
Small, tight bubbles that affect only the top layer of paint are often caused by poor surface preparation or applying a second coat before the first one fully dried. In these cases, the drywall underneath is usually intact, and the repair may be limited to scraping, sanding, priming, and repainting.
Larger blisters that feel soft, raised, or spongy when pressed may indicate moisture trapped beneath the paint. If the drywall feels damp or shows discoloration, the issue may extend beyond the surface coating and require additional investigation before repainting.
Pay close attention if you notice:
- Persistent dampness on the wall surface
- Brown or yellow staining around the blistered area
- Crumbling or soft drywall
- A musty odor in the room
These signs suggest possible moisture intrusion. Before fixing paint blistering and bubbling on walls, any source of moisture should be identified and corrected to prevent the problem from returning.
Step-by-Step: How to Fix Paint Blistering and Bubbling on Walls
Once the underlying cause has been corrected, you can begin repairing the damaged area. Rushing through surface prep is the most common reason blistering returns, so take your time with each step.
Follow these steps carefully to ensure the repair blends in and lasts.
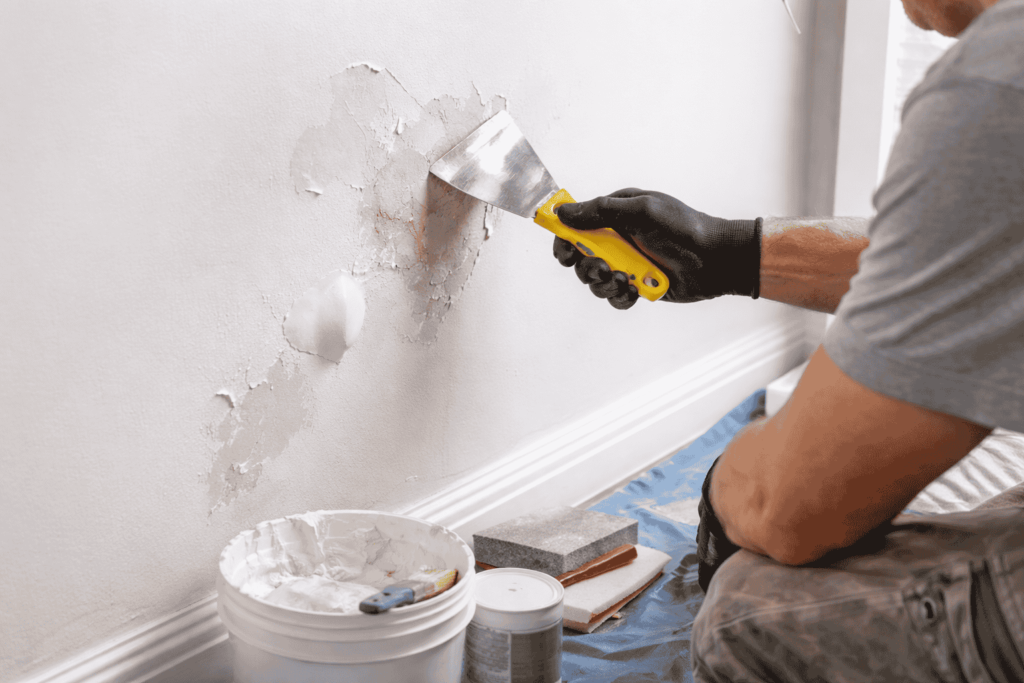
Step 1: Scrape Away the Damaged Paint
Start by removing all loose, blistered, or peeling paint using a putty knife or paint scraper. Work carefully around the edges of the damaged area and continue scraping until you reach paint that feels solid and firmly bonded to the wall.
If the paint flakes easily beyond the visible blister, remove it. Any unstable paint left behind will weaken the new coat and cause it to lift again. The goal is to expose only sound, well-adhered paint and stable drywall beneath.
Step 2: Sand the Surface Smooth
After scraping, sand the area to smooth rough spots and feather the edges between bare drywall and the surrounding paint. This prevents visible lines or texture differences after repainting.
Use medium-grit sandpaper to level the area, then switch to a finer grit for a smoother finish if needed. Run your hand across the surface to check for ridges. When the area feels even, wipe away all dust with a damp cloth or tack cloth. Any remaining dust can interfere with primer adhesion.
Step 3: Repair the Surface if Needed
If scraping exposed damaged drywall paper or left shallow dents, apply a thin layer of joint compound to restore a smooth surface. Spread it evenly and feather the edges outward to help it blend seamlessly with the surrounding wall.
Allow the compound to dry fully before sanding. If the area still looks uneven after sanding, apply a second thin coat rather than a thick layer. Multiple thin applications create a stronger, smoother repair.
Step 4: Prime the Area
Primer is essential when fixing paint blistering and bubbling on walls. It seals the repaired section, improves adhesion, and blocks stains or moisture from bleeding through the new paint.
Choose a high-quality primer that matches the conditions of the room. In areas prone to humidity, use a moisture-resistant or stain-blocking primer. Apply an even coat and allow it to dry completely according to the manufacturer’s instructions. Skipping this step often leads to repeated failure.
Step 5: Repaint with Proper Technique
Apply paint in thin, even coats using a clean roller or brush. Avoid heavy application, as thick layers can trap moisture and reduce adhesion. Allow each coat to dry fully before applying the next.
Maintain good airflow in the room and avoid painting during periods of high humidity. Proper drying conditions are just as important as the paint itself. When applied correctly, the repaired area should blend smoothly with the rest of the wall and resist future blistering.
How to Prevent Paint from Bubbling Again
Repairing blistered paint is only part of the solution. If the underlying conditions are not corrected, the same issue can return even after a careful repair. Long-term prevention depends on proper preparation and controlling moisture levels inside the home.
To reduce the risk of future blistering, focus on the following:
- Make sure walls are completely dry before applying primer or paint
- Clean surfaces thoroughly to remove dust, grease, and residue
- Use the appropriate primer for the surface and room conditions
- Avoid painting during periods of high humidity
- Run exhaust fans in bathrooms and kitchens to reduce moisture buildup
- Address plumbing leaks or condensation issues as soon as they appear
Moisture control and surface preparation are the two most important factors in preventing paint failure. When walls are clean, dry, and properly primed, the paint bonds correctly and is far less likely to bubble or blister again.
When Bubbling Paint Means It Is Time to Repaint
Sometimes isolated repairs are not enough. If bubbling appears in multiple areas or continues to return, the entire wall may need repainting.
Widespread blistering often indicates that the original paint job lacked proper preparation. In these cases, repainting the full wall surface ensures consistent adhesion and appearance.
If you are noticing other warning signs such as peeling, fading, or visible wear, it may also be helpful to review the broader signs that indicate when interior walls need repainting.
When Professional Help Makes Sense
You should consider professional painting services when paint blistering keeps coming back, spreads beyond a small area, or involves moisture damage inside the wall. If the drywall feels soft, stained, or continues bubbling even after repairs, the problem is likely deeper than the paint layer itself.
Blistering caused by trapped moisture, plumbing leaks, or improper previous preparation requires more than scraping and repainting. The surface must be evaluated correctly, damaged areas may need repair, and the wall must be sealed and primed properly before new paint is applied.
Professional painting services address the entire surface, not just the visible bubbles. That includes identifying moisture issues, preparing the wall correctly, selecting the right primer, and applying paint in conditions that promote long-term adhesion.
When the issue affects multiple sections of a wall or keeps returning, professional repair prevents repeated fixes and protects the wall structure underneath.
Final Thoughts
Paint blistering and bubbling on walls is a visible warning that something underneath needs attention. Whether caused by moisture, improper prep, or aging paint, ignoring the problem allows it to spread.
Fixing paint blistering and bubbling on walls requires identifying the root cause, repairing the surface correctly, and repainting with proper preparation. When handled properly, the repaired area blends seamlessly and restores both protection and appearance.
If paint blistering and bubbling has started to spread, it may be time for a more complete solution. Saint Joe Handyman provides professional interior and exterior painting services in Saint Joseph, including surface preparation, drywall repairs, primer application, and full wall repainting. Every project is handled with careful prep and attention to detail to ensure a durable, even finish.
Contact Saint Joe Handyman today for a free quote and restore the look and protection of your walls with professional results.